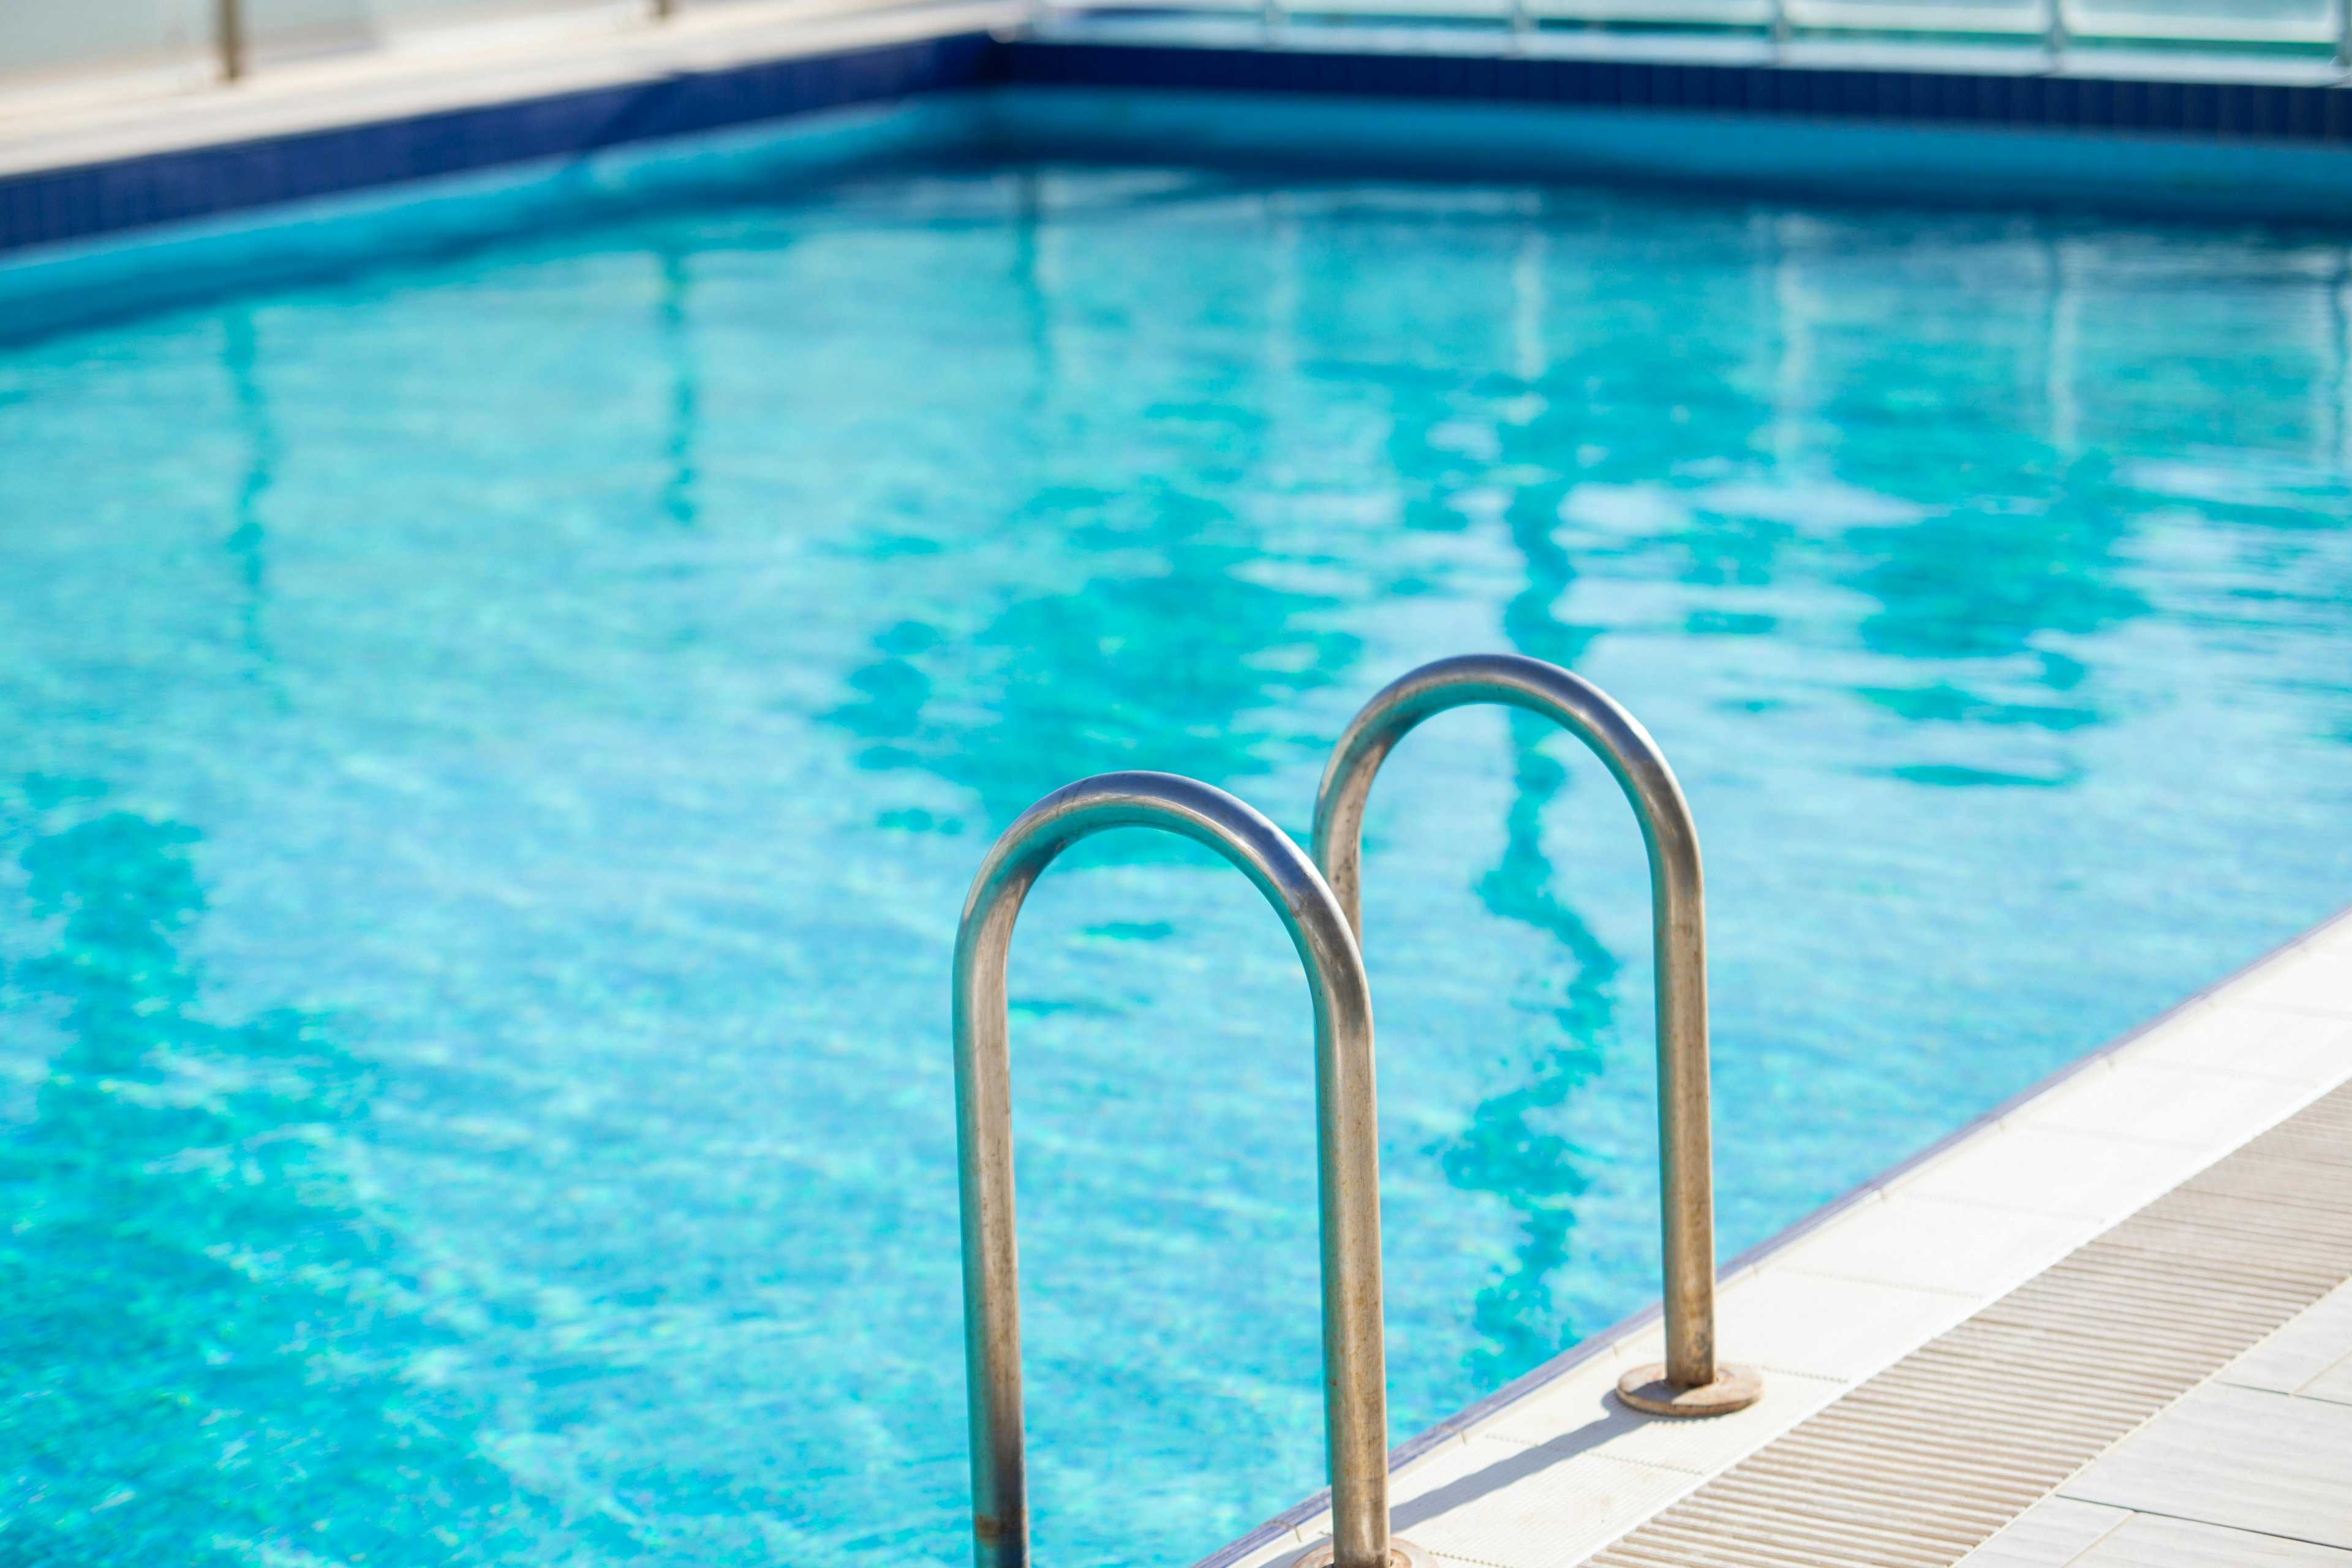


How to Winterize a Pool
Inspire Clean Energy
Dec 15, 2023
12 min read
category: Sustainable Living
Share this article
Don't worry about climate change— do something about it.
Our clean energy plans are the easiest way to reduce your home's carbon footprint.
Switch to clean energy→
Forget Labor Day weekend, the real end of summer arrives when it’s time to shut down the backyard pool for the season. It’s a landmark moment, and it’s not as simple as skimming out a few leaves and rolling a cover across the pool. There’s a process to it, a very important one for the long-term maintenance of your pool: it’s called winterizing. So how do you winterize a pool? In this blog, we’ll answer all of your how to winterize a pool questions, from when to start the process to how to winterize an in-ground pool, how to winterize an above-ground pool, and what pool winterization looks like in the Deep South versus in more northern climates. We’ll also address any other aspects of winterizing your pool you may be unsure about.
Let’s dive in.
When to Start Your Pool Winterization
The general consensus on this is clear: The time for winterizing the pool is when the mercury dips below 65 degrees Fahrenheit for a solid handful of days. Whether you live in, say, Massachusetts versus South Carolina, when to winterize a pool dates may differ, but these temperatures indicate the moment to start the pool winterization process. And, of course, closing up the pool can help lower your average winter gas bill.
Two thoughts to keep in mind as you begin:
1) Make sure you do give it 5-7 days at sub-65 temperatures, because if you jump the gun, your pool could develop algae, which tends to flourish in warm weather.
2) Once you’ve established that the weather has turned cooler, block out at least a week for the winterize pool process. You’ll need that much time since the task involves several steps that take a few days.
How to Winterize an Above-Ground Pool
Unless you live in a region that stays warm all year, you need above-ground pool winterization. Here’s a step-by-step guide detailing how to prep and winterize an above-ground pool for the offseason. (We’ll cover how to winterize an in-ground pool for the offseason below.)
STEP 1: Remove all gear, accessories, and toys
You know that enormous inflatable swan you spent the summer, uh, swanning around in? Yeah, that needs to come out. Sorry. Season’s over. Any other extraneous items need to come out as well. This includes ladders, skimmer baskets, floating coolers, water volleyball sets, and rafts. Hose them down, and let them dry thoroughly before packing them away for winter.
STEP 2: Clean, clean, clean
Time to grab your skimmer net, pool vacuum, and brush, and get to work. Use the skimmer to remove leaves, sticks and anything floating on the surface. Then brush the walls, steps, and all nooks and crannies, and finish up by vacuuming the bottom. Congratulations, you now have the cleanest pool on the block and your above ground pool winterization process is well underway.
STEP 3: Balance the Chemistry
A white lab coat is optional, but you need to test four chemical components of the water, and bring them in line if necessary. The alkalinity should be between 80 and 150 parts per million (ppm). The PH level should fall between 7.2 and 7.6, and the calcium hardness level should clock in between 175 and 225 ppm. Lastly, test your chlorine to ensure that it’s between 1 ppm and 3 ppm.
When winterizing an above-ground pool, these levels should be on the higher end of the spectrum, since quantities will decrease during the winter months.
STEP 4: Drop the Water Level
If you live in an area where kids can play pond hockey in winter, you need to lower your pool’s water level to protect its plumbing. Even if outright freezing is not a possibility, you’ll still want to drop your water beneath your skimmer and jets because icy water or frost can damage that equipment.
There are several ways to lower your above-ground pool’s water level during winterization: You can siphon off the water with a garden hose; you can use a submersible pump; or, if your pool has a drain spigot, you can simply remove the cap and the water will flow out.
If you’re using a mesh cover to top your pool for the offseason, the water level should be about a foot below the skimmer. For a solid cover, the level can be six inches below the skimmer.
STEP 5: Disconnect, Drain, Plug
Above-ground pool winterization also requires you disconnect your pool’s pump, along with the motor, and drain them. After that, disconnect all hoses and plug the pool outlets. Next, dismantle your filters, remove and clean them. Take this opportunity to replace any past-their-prime filters. If your filters are still viable, store them indoors for the offseason, along with the pump and motor.
STEP 6: Add Offseason Chemicals
Shock is a bacteria-destroying chemical that comes in a chlorine or non-chlorine variety. Algaecide, as its name suggests, is an anti-algae agent. You need to add both to your pool before closing it. If you’re using chlorine shock, add it separately from the algaecide. Follow the directions on the packages, and distribute the chemicals throughout the pool, not just in one area.
STEP 7: Cover Your Pool
To properly winterize above-ground pools, this step is a two-parter: First, you need to install an air pillow at the center of the pool. Air pillows are readily available online or at any home improvement store, and they will prevent snow from putting too much pressure on your pool cover as well as buffer any ice expansion. Once you’ve got your air pillow secured, you are ready to—drumroll, please—cover your pool for the offseason.
Generally speaking, there are two types of pool covers: winter covers and safety covers. Winter covers are tarp-like in appearance and more loosely fitted to your pool than safety covers. They’re also less expensive, but come with shorter warranties.
Safety covers resemble trampoline surfaces and fit snugly across the top of the pool, aided by anchors and springs. They usually feature longer warranties, but cost a lot more.
*You can only use a safety cover on an above-ground pool if there’s a solid deck around the entire perimeter of the pool.
How to winterize an above-ground pool
- Remove gear, toys, and accessories
- Thoroughly clean the pool
- Balance the water chemistry
- Lower the water level
- Disconnect pump, motor, and dismantle filters
- Add shock and algaecide
- Install air pillow, cover pool
How to Winterize an In-Ground Pool
In-ground pool winterization is likely to be a bigger process than winterizing an above-ground pool, with larger and more complicated equipment, making cleaning and dismantling a slightly more involved task. Here’s how you break it down
STEP 1: Remove all gear, accessories, and toys
Start the in-ground pool winterizing process by stripping your pool back to its basics. The aqua table tennis set, the pizza-slice float, and the inflatable basketball hoop you shot all those YouTube videos with? Remove them all. Ditto for ladders, skimmer baskets, portable steps, or waterproof lighting. Collect, rinse, dry thoroughly, and store them for the offseason.
STEP 2: Clean, clean, clean
You’ll need: skimmer net, sturdy pool brush, and a pool vacuum. Use the skimmer to clear leaves and floating debris. For the walls, steps, and any hard-to-reach places, the pool brush will get the job done. Finally, run the vacuum over the bottom of your pool to eliminate any settled silt or dirt.
STEP 3: Balance the Chemistry
To winterize your in-ground pool and send it off into its hibernation period as swim-ready as possible, you need to balance the levels of four chemicals in the water. Here they are, followed by the ideal quantities for each:
- Alkalinity: between 80 and 150 parts per million (ppm).
- PH: between 7.2 and 7.6.
- Calcium hardness: between 175 and 225 ppm.
- Chlorine: between 1 ppm and 3 ppm.
Your pool’s water test kit will allow you to adjust any of these levels, and you should shoot for the upper ranges when winterizing an in-ground pool because the amounts will naturally decline during the offseason.
STEP 4: Drop the Water Level
Use the built-in filter pump or a submersible pump to lower the water level before you shut down your in-ground pool for winter. If you plan to top your pool with a mesh cover, bring the water level down to about a foot below the skimmer. If you’re using a solid cover, lower the water to six inches below the skimmer.
The reason for reducing the water level is to clear the skimmer and the pool’s plumbing lines, eliminating the risk of damage to both in the event of freezing.
STEP 5: Disconnect, Drain, Plug
Disconnect your pump and motor and completely drain them. Then move on to the hoses: disconnect them and plug all pool outlets. Lastly, dismantle your filters and remove and clean them. If any of them need to be replaced, now is the time. Store the pump and any still-useful filters indoors for the winter.
STEP 6: Add Offseason Chemicals
Your next-to-last step when winterizing an in-ground pool is to add shock and algaecide to the water. The algaecide will (surprise) prevent algae buildup, while the shock is an antibacterial chemical that comes in chlorine and non-chlorine forms. If you go with chlorine shock, be sure to use it separately from the algaecide. Either way, follow the directions on the packages, and don’t simply pour them into the pool, they should be spread evenly throughout the water.
STEP 7: Cover Your Pool
You are now ready to cover your pool and complete the in-ground pool winterization process. There are, by and large, two types of pool covers: winter covers and safety covers. Winter covers look like tarps and conform to the surface of your in-ground pool. They’re secured at the edges with water bags or water blocks.
Safety covers fit snugly across the top of the pool, stretched taut by springs, and held in place with anchors. They resemble trampoline surfaces and will prevent a small child or pet from accidentally tumbling into the pool, hence the name.
How to winterize an in-ground pool
- Remove gear, toys, and accessories
- Thoroughly clean the pool
- Balance the water chemistry
- Lower the water level
- Disconnect pump, motor, and dismantle filters
- Add shock and algaecide
- Cover pool
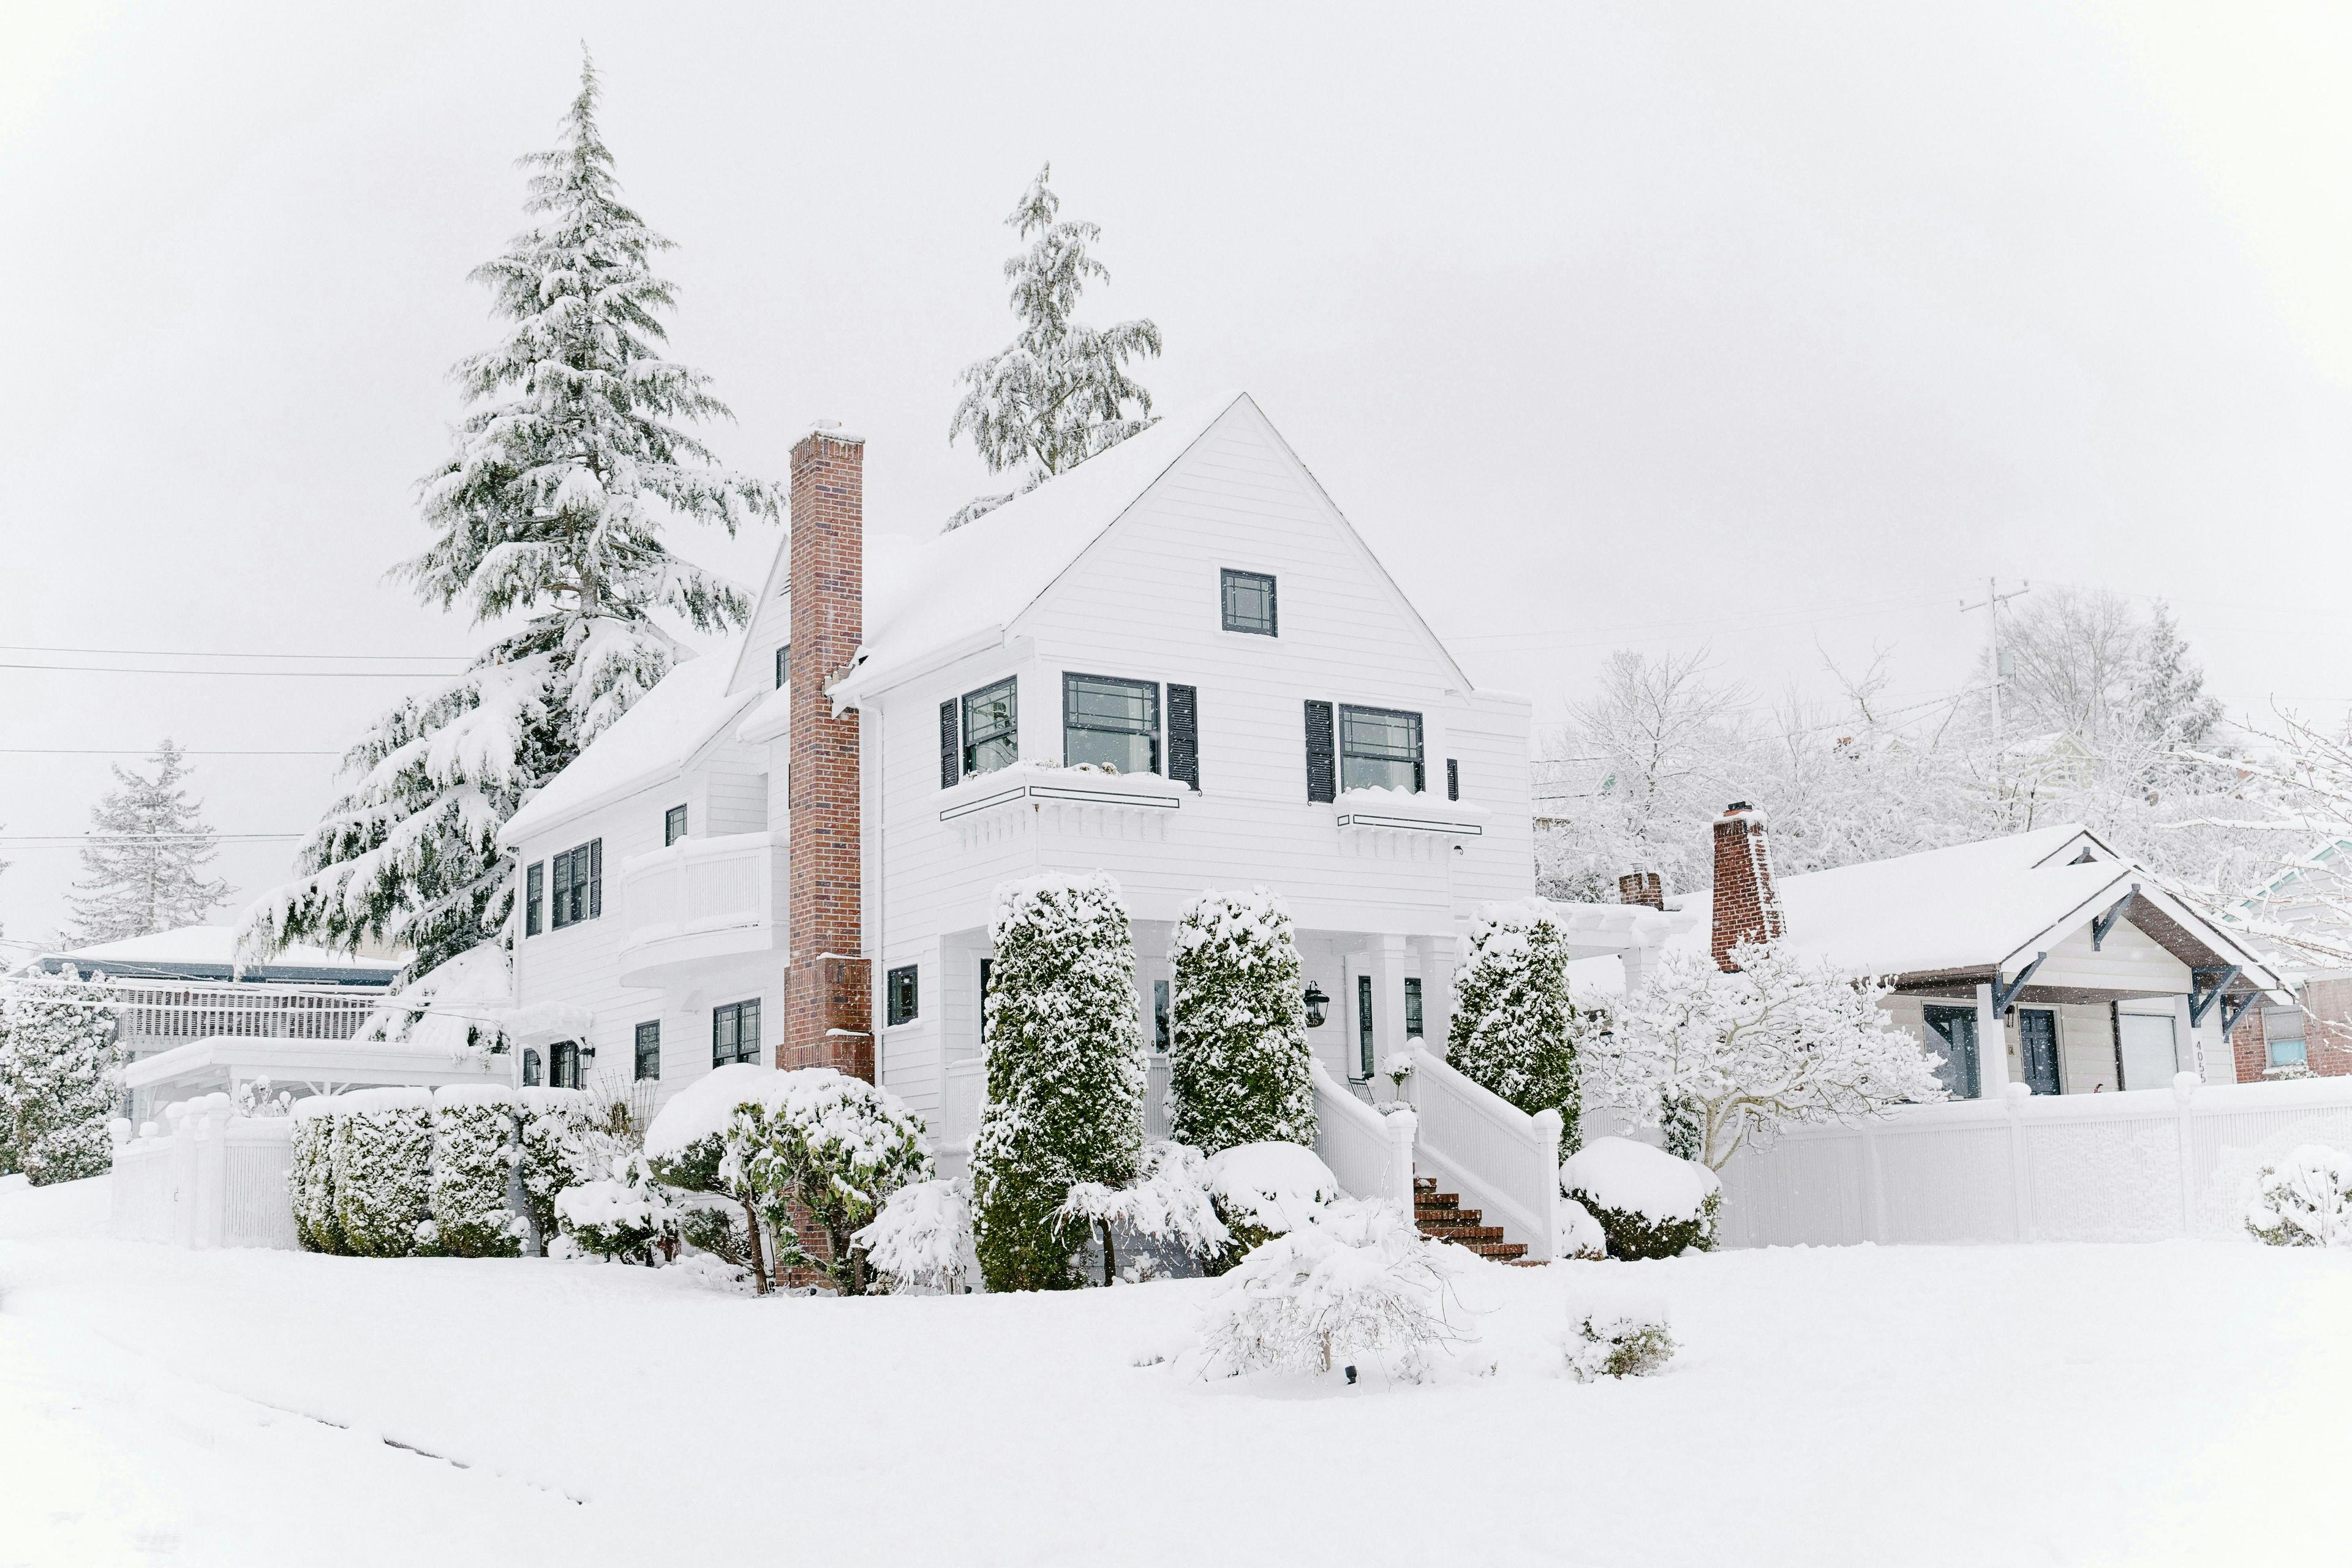
Pool Winterization in the Deep South vs winter climates
Pool owners who live in the warmest climates in the US do not need to shut down their pools for the winter. There’s no risk of freezing and they can use their pools year round.
When it comes to regions that are warm during the day but can get chilly on winter nights, the decision to winterize a pool is a case-by-case call. If you’re able to keep your pump going any time the temperature drops below freezing, you may not have to winterize. The pump keeps water flowing through all of your pool’s plumbing and sensitive hardware. As long as it’s running, water is highly unlikely to freeze, even if a cold snap lasts a few days.
In these borderline-climate regions, it’s more likely that an in-ground pool can be kept open than with an above-ground pool, because above ground pools are more exposed to the elements.
In either case, if you’re leaning toward covering your pool for winter, most experts recommend a full close (following all seven steps) rather than a half-measure that could make it harder to reopen your pool in the springtime due to algae buildup, chemical imbalances, or ice damage.
How to Winterize a Pool FAQs: Above-Ground and In-ground
Do I need to adjust my pool chemicals during the offseason?
In warmer climates, where algae tends to thrive, you may have to do a midwinter shock and algaecide treatment to prevent buildup of bacteria and algae. Run the pump for four hours to circulate the chemicals thoroughly.
What should I do if heavy weather hits?
Winterizing your pool is not always a set-it-and-forget-it process. If you get a heavy rainfall or snowstorm, you will probably have to respond. In the case of rain, check your pool’s chemical balance and adjust as needed. You may need to shock the pool to eliminate bacteria. If either snow or rain builds up on your pool cover, you should remove it as it can damage the cover.
Can I drain my pool entirely?
In a word, no. Experts recommend keeping your pool most of the way full year-round, whether it’s an in-ground or above-ground pool. The potential for damage increases without water, as extreme temperatures, debris, snow, and ice can all impact an empty winterized pool. Additionally, it makes it more difficult and more expensive to reopen the pool in spring.
Winterizing Your Pool Can Help the Environment
Similar to learning what is the best winter thermostat setting, answering the question, how to winterize a pool has benefits beyond your bottom line. Many of the steps required to winterize a pool will save water and energy, not to mention time, money, and effort when it comes time to reopen.
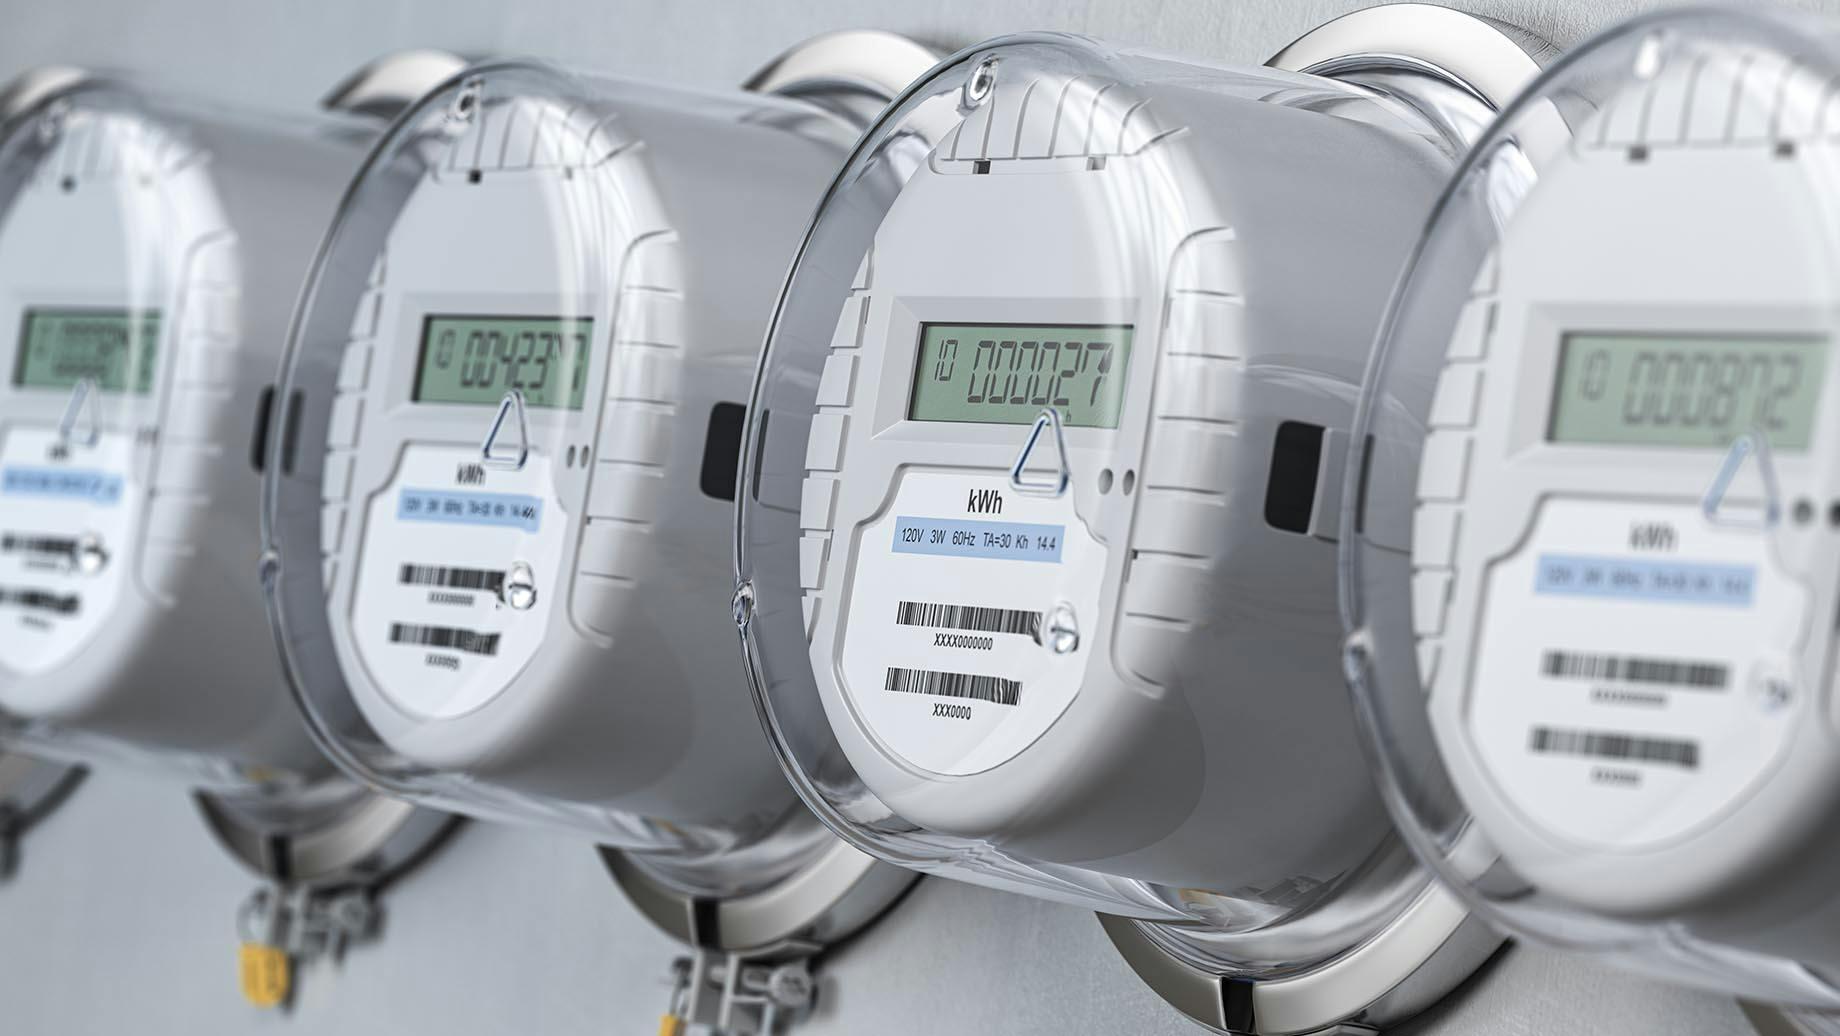
By shutting down your pool in the offseason, you give your pump—and any other systems that use electricity—a rest, which saves energy. Cleaning and removing your filters will ensure maximum efficiency for your filtration system when the pool reopens—another winter energy-conservation move. Additionally, by preventing damage to your pool’s structure, lining, equipment, or plumbing lines using pool winterization steps, you’re averting extra energy expenditures for repairs in the future.
All in all, pool winterization is an economically, logistically, and environmentally sound practice. Learn more about electricity plans from Inspire Clean Energy that can power your pool with access to clean energy.
Don't worry about climate change— do something about it.
Our clean energy plans are the easiest way to reduce your home's carbon footprint.
Switch to clean energy→
Share this article

Inspire Clean Energy
We're on a mission to transform the way people access clean energy and accelerate a net-zero carbon future.
Learn more about Inspire →Explore more
Recent Posts


Top Articles